
You can usually tell when a remodel is going off-track long before anyone says it out loud. The fridge is in the living room for the third week in a row, a “quick” tile decision is suddenly urgent, and you are scrolling permit requirements at midnight wondering why nobody mentioned them earlier.
That is exactly why a home renovation project management checklist matters. Not a generic list that assumes every home is a blank box, but a process that respects how Bay Area houses actually behave – older framing, surprise plumbing, tight setbacks, picky jurisdictions, and neighbors close enough to hear a circular saw.
Below is a practical, design-forward checklist you can use to manage a renovation like a pro. Think of it as the guardrails that protect your budget, your timeline, and the integrity of your finished home.
The mindset: manage decisions, not just construction
A renovation is a chain of decisions. Some are aesthetic (cabinet door style, grout color). Some are technical (beam sizing, venting routes). The project rarely fails because someone cannot swing a hammer. It fails because decisions are made late, made without the right information, or made without understanding the domino effect.
Project management is how you keep decisions early, documented, and coordinated across design, engineering, permitting, ordering, and field work. You are not trying to control every detail. You are trying to make the right choices at the right time, with clear accountability.
Home renovation project management checklist: pre-design clarity
Before you pay for drawings or fall in love with inspiration images, get specific about what “done” means.
Start with scope boundaries. Are you renovating a kitchen only, or does the project include electrical upgrades, window changes, flooring beyond the room, or moving a laundry area? In older Bay Area homes, a “simple” kitchen can trigger panel upgrades, GFCI and AFCI requirements, and code-driven venting changes.
Next, align priorities. Decide what you will protect at all costs (layout function, natural light, durable finishes) and where you are willing to flex (appliance tier, custom vs semi-custom cabinetry, heated floors). The point is not to guess prices perfectly. The point is to avoid design drift – that slow creep where the plan grows faster than the budget.
Finally, confirm your living plan. Will you stay in the home during construction? For a full kitchen remodel, being on-site can be manageable with a temporary kitchenette if the schedule is tight and the team protects the home. For whole-home renovations, many families choose to relocate because it reduces stress and sometimes compresses the timeline.
Budget and contingency that match reality
Renovation budgets should be built in layers: hard costs (construction labor and materials), soft costs (design, engineering, permits), and contingency.
For contingency, it depends on how invasive the work is and how old the home is. If you are opening walls in a 1920s house, you want more cushion than a cosmetic refresh in a newer condo. Your checklist item is simple: set a contingency percentage before design begins, and decide who can authorize its use. That decision prevents emotional spending when an unexpected condition shows up.
Also decide how changes will be priced. A clean change order process protects relationships. If you are making selections while construction is underway, you are effectively asking the schedule to absorb your decision time. The cost is not just the upgraded item – it is the ripple through labor sequencing and lead times.
Design development: lock the plan before you shop
The most efficient projects treat design as pre-construction work, not something to “figure out in the field.”
First, confirm measured as-builts. If the existing conditions are wrong, everything downstream is wrong – cabinetry, tile layout, structural assumptions.
Second, finalize the layout and major systems. This includes appliance locations, plumbing fixture locations, lighting plan, and HVAC impacts. A beautiful kitchen layout that ignores the range hood duct route will fight you later.
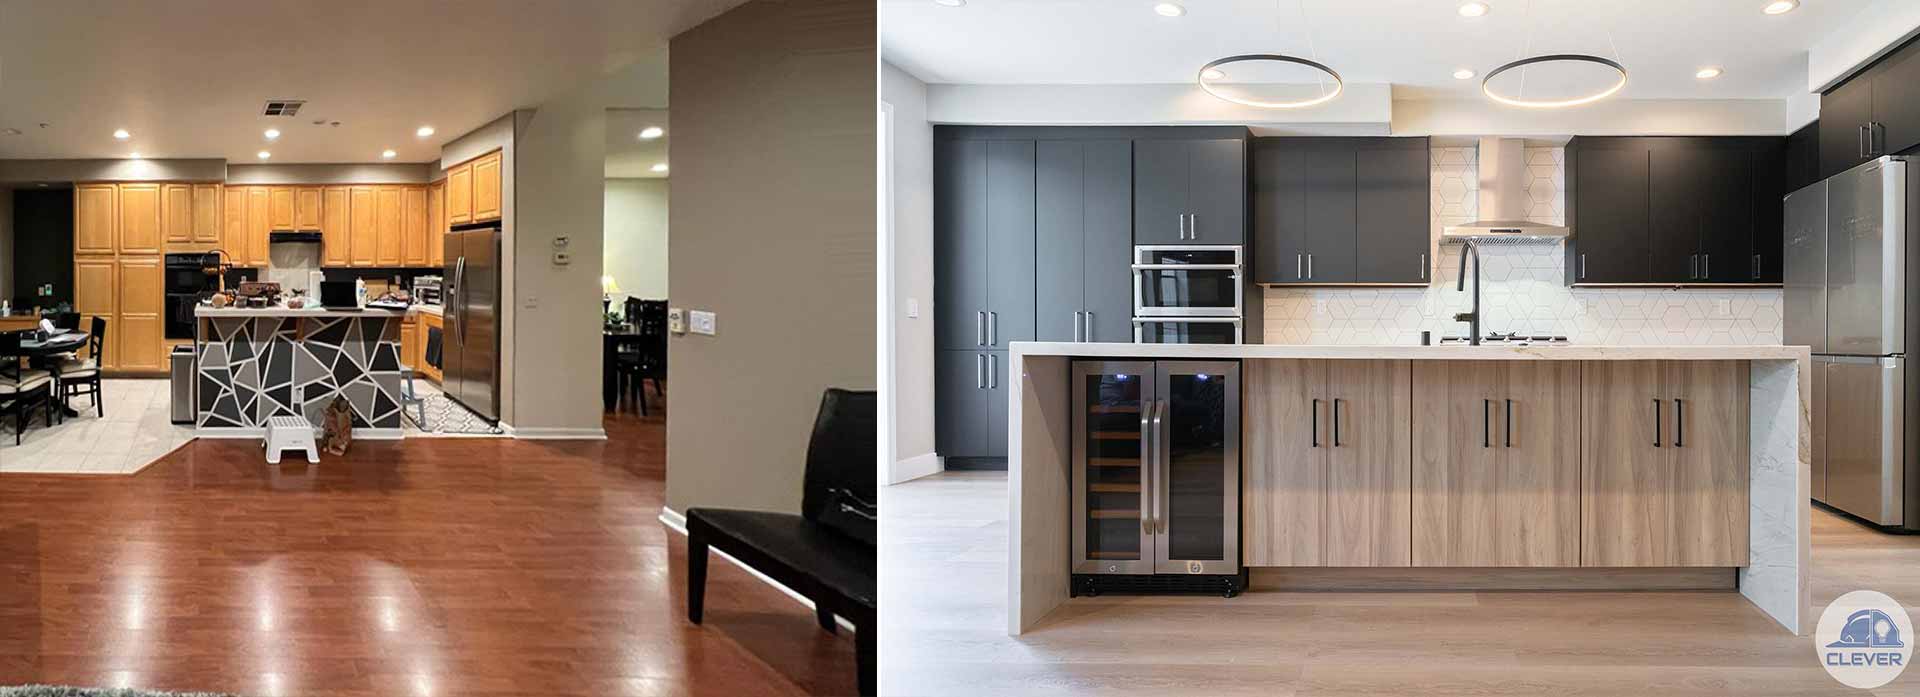
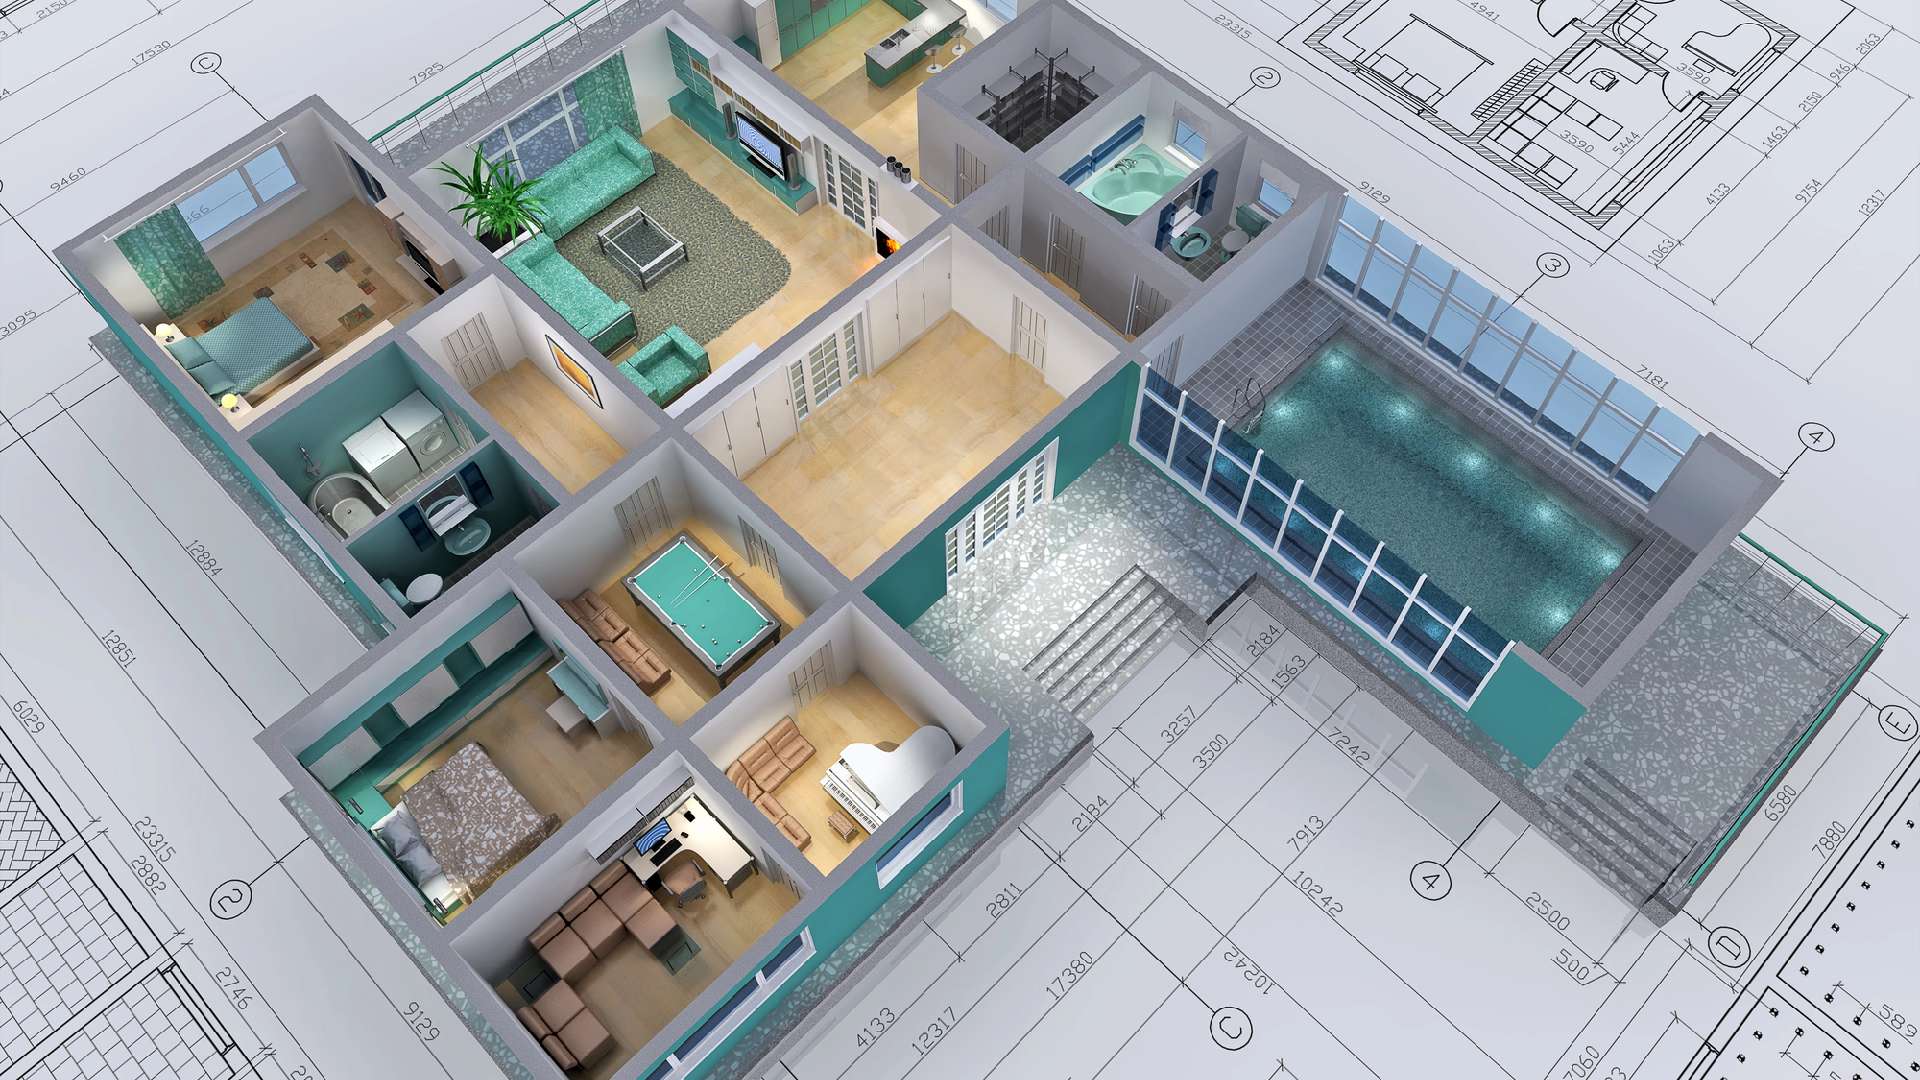
Third, use 3D visualization when possible. Renderings are not just for excitement. They are for alignment. If two people imagine “warm modern” differently, the build will surface that mismatch when it is expensive to change.
This is the stage where a design-build partner earns their keep because design decisions are checked against construction realities. If you want a single accountable team coordinating design, permits, and build execution, Clever Design & Remodeling operates with that integrated workflow so homeowners are not mediating between siloed parties.
Engineering and permit readiness (the Bay Area multiplier)
In the Bay Area, permitting is rarely an afterthought. Your checklist should treat it as its own workstream.
Confirm whether your scope triggers structural engineering. Moving a wall, widening an opening, adding a skylight, building an addition, or creating an ADU almost always requires engineering. Even when you are not changing structure, older homes may require careful verification if framing is undersized or modified over decades.
Then map the permit path. Each city and county has its own rhythm. Some are straightforward, some require planning review, and some have energy documentation requirements that affect window specs, insulation, or mechanical systems. Put permit application, review cycles, and anticipated revisions on the calendar – and do not schedule demolition as if approvals are guaranteed on a specific date.
Also clarify neighbor and site constraints early. Tight side yards, limited staging space, and street parking rules can affect how materials are delivered and how quickly trades can work.
Selecting the team and aligning the contract
A renovation contract should read like a project plan, not a mystery novel.
Your checklist items here are about clarity. Confirm what is included and excluded in the scope, how allowances work, how long pricing is valid, and what the payment schedule is tied to (milestones are typically cleaner than arbitrary dates).
Also ask who your day-to-day point of contact will be. In a well-managed project, you have a dedicated project manager or lead who runs the schedule, coordinates trades, and communicates decisions. You should know how often you will get updates and what format they will take.
If you are comparing bids, be careful about comparing numbers without comparing assumptions. One proposal might include permit handling and debris protection; another might not. A lower number can simply mean more undefined work that will surface later.
Procurement: selections and lead times
If you want to protect the timeline, you manage lead times like you manage the budget.
Create a selection schedule tied to the construction sequence. Cabinets, windows, tile, plumbing fixtures, and specialty lighting can have long lead times. If a key item is delayed, it can idle multiple trades. That is real money.
Also decide where you want flexibility. Some items are easy to swap late (paint color, simple hardware). Others are not (custom cabinetry, countertops, shower glass). Your project management job is to lock long-lead items early and keep late-stage choices limited to low-impact decisions.
Pre-construction planning: the last calm moment
Right before work begins, a strong team will hold a pre-construction meeting. This is where the checklist becomes operational.
Confirm site protection: floor coverings, plastic barriers, dust control, and how the crew will protect HVAC returns. In a lived-in home, this is not optional.
Confirm logistics: working hours, parking, material staging, restroom access, and how deliveries will be handled. In dense neighborhoods, logistics can decide whether the project feels orderly or chaotic.
Confirm communication: how issues will be raised, who approves changes, and how quickly decisions are needed. Homeowners should not feel ambushed by urgent questions. When the project is managed well, you get a heads-up before a decision becomes time-sensitive.
Construction phase: schedule control and quality checkpoints
During construction, you are managing sequencing, inspections, and craftsmanship.
Track the critical path. Demolition leads to rough framing, then rough plumbing and electrical, then inspections, then insulation and drywall, then finishes. If rough inspections fail, the whole stack pauses. Your checklist should include inspection dates and responsibility for calling them.
Hold regular walk-throughs at meaningful milestones. You do not need to inspect daily. You do need to review after rough-in (before drywall), after waterproofing in wet areas, and after major installations like cabinets and tile layout. Those are the moments where catching an issue early saves you from expensive rework.
Document decisions in writing. Even in collaborative, relationship-driven projects, memory is not a system. A quick email or shared project log that confirms “we approved the matte black faucet and moved the sconce 6 inches” prevents future confusion.
Expect trade-offs. Sometimes a design detail needs a field adjustment because the existing structure is not perfectly square or a vent path is blocked. The right question is not “why is this different,” but “what are the options, what do they cost, and what do they do to the schedule and the aesthetic.”
Managing change orders without drama
Changes happen. The goal is to keep them intentional.
Your checklist is to require three things for every change: a clear description of the scope change, a price and schedule impact, and written approval before work proceeds. This protects you and protects the builder.
Also recognize that some “changes” are actually discoveries – hidden water damage, unpermitted wiring, or subfloor rot. Those should be treated as condition items with documentation and a recommended fix. In Bay Area remodeling, especially in older homes, these moments are common. A disciplined team will show you the issue, explain the options, and price the solution transparently.
Closeout: the punch list and the handoff
Finishing well is part of craftsmanship.
Do your punch list when the home is clean enough to see details and most trades are complete. Walk each room slowly, test doors and drawers, run plumbing fixtures, check outlets, and look at paint in natural light. Small items are normal. The difference is whether there is a clear plan and timeline to resolve them.
Confirm you receive your closeout package: product specs, care instructions, warranty information, and any final inspection sign-offs. If your project includes new mechanical equipment, make sure you understand basic maintenance and where shutoffs are located.
Finally, protect the finished work. Ask what curing times are needed for grout, paint, and sealants, and when it is safe to install shelves, hang art, or host that long-awaited dinner.
A checklist is only as good as the relationship behind it
A well-managed renovation is not rigid. It is responsive without being reactive. The checklist above gives you structure, but the real win is a team that treats your home with care, communicates upfront, and advocates for the long-term value of each decision.
Pick a process you can trust, then let it carry you. Your future self will feel it every morning you walk into a space that works beautifully – and feels like it was always meant to be yours.