Creating an Accessory Dwelling Unit (ADU) is an excellent way to add value to your property and create more living space. If you’re located in Sunnyvale, CA, you’re in luck! This article provides a step-by-step guide to designing your ADU, showcasing how our team at Clever Design and Remodeling can help you navigate this exciting project.
Step 1: Understand Local Building Regulations
Before you start designing your ADU, it’s crucial to familiarize yourself with Sunnyvale’s local building regulations and codes. In the San Francisco Bay Area, the local government encourages Accessory Dwelling Units as a solution to housing shortages. However, certain rules regarding ADU size, height, and proximity to the main house must be followed. Having a local expert like us who understands these nuances is beneficial.
Soft Costs
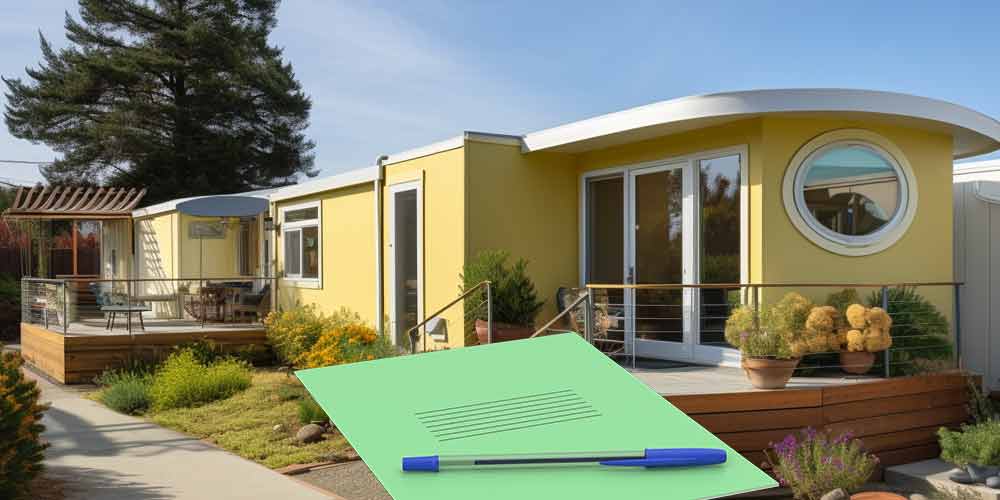
Soft costs include fees for permits, insurance, and unexpected contingencies. They usually make up 5-10% of the budget. In the Bay Area, this can equate to $10,000 – $25,000.
Step 2: Define Your Goals and Budget
Identify the purpose of your ADU to guide its design. Will it be a rental unit, guest house, or a home for aging parents? Your intended use will impact the layout, features, and size of the ADU. Additionally, outline your budget to ensure your project remains feasible without sacrificing quality. Remember, ADUs are a great way to unlock the hidden potential of your property.
Step 3: Plan Your Layout and Design
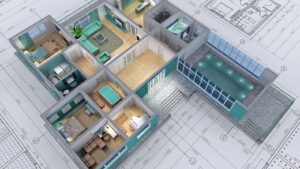
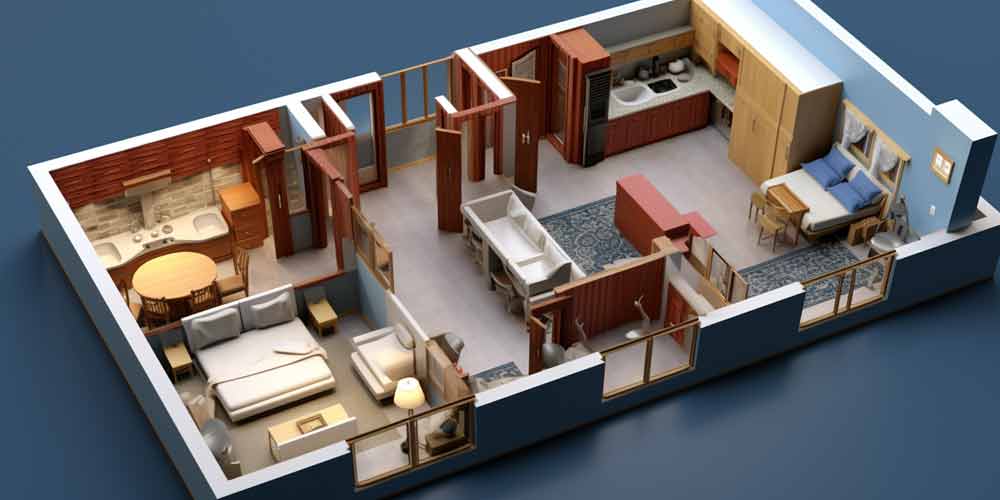
Begin sketching out your ADU’s layout, considering elements like kitchen and bathroom placement, bedroom size, and living areas. You may want to incorporate space-saving ideas to make the most out of your ADU. You can use our 3D remodeling tool to visualize your ideas and bring your concept to life.
Design and Planning
The design and planning phase typically constitutes 5-10% of the total project cost. This phase encompasses architectural plans, engineering, and permits. In the Bay Area, expect to budget around $4,000 – $15,000 for this stage.
Step 4: Select Your Finishes and Fixtures
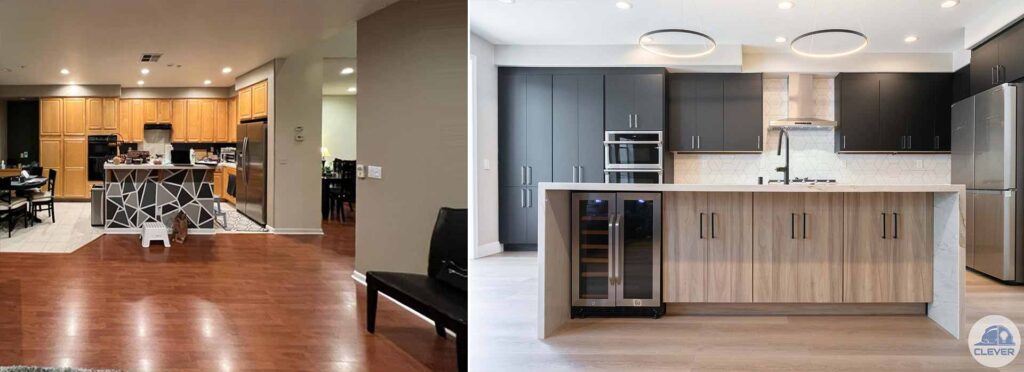
Choose the finishing touches that will define your ADU’s look and feel. Select materials and fixtures for key areas like the kitchen and bathroom. Whether you’re considering a high-end kitchen remodel or a budget-friendly bathroom upgrade, we can guide you towards the best choices for your budget and style.
Step 5: Review Your Design with a Professional
Once you’re happy with your preliminary design, it’s time to review it with a professional. Our team at Clever Design and Remodeling specializes in ADU services, ensuring your design is not only beautiful but also functional, efficient, and in line with local regulations.
Step 6: Make Necessary Adjustments
Based on the professional review, you may need to adjust your design. This could include modifying the layout or changing some finishes to better align with your budget or local building codes. At this stage, we can also provide you with a clear view of the return on investment (ROI) you can expect from your ADU project, allowing you to make the most informed decisions about your ADU’s ROI.
Step 7: Begin Construction
Once your design is finalized, it’s time to start building! With our experienced team of San Jose contractors, you can rest easy knowing that we’ll manage every step of the construction process, ensuring a timely and high-quality finish. Be sure to check out our Before & After gallery to see transformations we’ve brought to life.
Site Work and Foundation
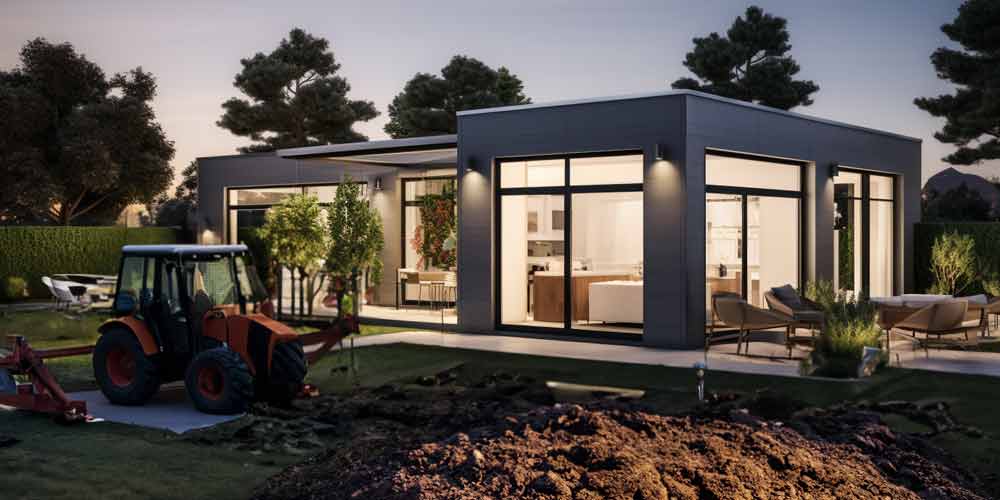
The site work and foundation preparation often account for 15-20% of the total ADU cost. This phase may include costs for grading, excavation, and concrete work. Depending on the project’s complexity, this stage can range between $15,000 – $50,000.
Construction and Material Costs
The largest proportion of your budget will go towards construction and material costs, usually comprising 60-70% of the total cost. This includes everything from framing and roofing to interior finishes. For a high-quality ADU in the Bay Area, you can anticipate spending $100,000 – $250,000 on this stage.
Step 8: Enjoy Your New ADU
Congratulations, your ADU is now ready to enjoy! Whether you decide to rent it out, use it as a guest house, or enjoy it in any other way, know that you’ve added substantial value to your property.
Summary
Whether you’re looking to augment your living space or generate income, understanding the costs associated with building an ADU in Sunnyvale can help you plan your project effectively. With careful planning and strategic decisions, an ADU can be a rewarding investment.
With this guide and the help of our team at Clever Design and Remodeling, you’ll navigate the process with ease. Whether it’s an ADU, a home addition, or a complete home remodeling project, we’re here to bring your vision to life. Contact us to start designing your dream ADU in Sunnyvale, CA!
Potential Cost Savings on ADU Construction in the Bay Area
While building an ADU in the Bay Area can be a substantial investment, there are avenues to minimize the costs.
 Opt for a Simpler Design
Simplifying your design can lead to significant savings. By choosing a streamlined design, you can reduce the complexities that often lead to higher labor and material costs.
Use Prefabricated Units
Prefabricated units can be a cost-effective solution. These units are built off-site and installed on your property, often leading to savings in labor costs.
Leverage Existing Infrastructure
If possible, consider converting existing spaces, such as a garage or basement into an ADU. This option can reduce your construction costs as it leverages the existing structure and utilities.
 Some FAQs about Designing an ADU in Sunnyvale, CA
What is the setback requirement for Sunnyvale, CA?
Sunnyvale, CA, generally requires a minimum 4-foot rear and side yard setback for detached ADUs. However, regulations can change, and it’s recommended to verify current local codes with the Sunnyvale Planning Division.
How much does it cost to build an ADU in the Bay Area?
Building an ADU in the Bay Area can vary widely in cost based on factors like size, design, finishes, and site conditions. On average, you can expect costs in the range of $250 to $850 per square foot. This would make a 500-square-foot ADU cost between $125,000 to $425,000.
 What is the cheapest way to build an ADU in California?
The most cost-effective way to build an ADU is often to convert existing space, like a garage or basement. It’s also important to keep the design simple and straightforward, limit costly high-end finishes, and manage the project efficiently to avoid expensive delays.
Can you draw your own ADU plans?
Technically, you can draw your own ADU plans. However, it’s important to understand that these plans must adhere to California building codes and regulations. Mistakes or oversights can lead to delays and additional costs. For this reason, many homeowners choose to hire a professional to create their ADU plans.
What is the SB9 ordinance in Sunnyvale, CA?
Senate Bill 9 (SB9) is a state-wide law in California that allows for the subdivision of single-family lots and the development of up to four residential units on these lots. Local jurisdictions were still determining how to implement this law.
 How close to the back property line can I build?
Per the general guidelines, Sunnyvale requires a 4-foot setback from the rear property line for detached ADUs. However, it’s best to check with the Sunnyvale Planning Division for the most current setback requirements.
Can I build an ADU in my front yard in Sunnyvale?
Accessory Dwelling Units (ADUs) cannot be constructed in the front yard in Sunnyvale, California. Front-yard ADUs could interfere with the aesthetic and character of a neighborhood, which is why they are generally prohibited. ADUs are usually permitted in rear or side yards to maintain neighborhood aesthetics and privacy.


 Opt for a Simpler Design
 Some FAQs about Designing an ADU in Sunnyvale, CA
 What is the cheapest way to build an ADU in California?
 How close to the back property line can I build?